
Welcome. This article is a step-by-step guide to creating and memorizing a short dance routine. It explains how to start with simple basics and link A-B-A sequences over eight counts.
You will discover the essential moves—bounce, two-step, crossover, spin and body roll—and learn how to put them together. The method uses short stages, clear instructions and rhythmic cues so you can keep track of the moves and transitions.
Goal: dance hip-hop at a moderate tempo with a short routine ready for your own styling.
Online classes and tutorials can speed up learning, but independent practice remains valuable: practicing regularly, filming yourself and refining your groove make all the difference. To go further, read a complete guide on how to dance hip-hop.
What you will gain: by the end of this chapter, you will have a simple routine, practical advice and the confidence to dance.
Before you dance: the hip-hop mindset and connecting with the beat
Understanding the origins and the groove helps you dance with meaning as well as precision.
The movement emerged in 1970s New York, on the streets of the Bronx and in working-class neighborhoods. Block parties turned public spaces into a performance: DJs, records, MCs and dancers created a vibrant urban culture.
From the streets of the Bronx to stages around the world
Put this dance in context: first a local form of expression, it later reached stages worldwide. Clothing, body language and solidarity among dancers shaped a recognizable style.
Musicality, groove and bounce
Groove and bounce are cues you can feel. The natural bounce of the knees and hips helps dancers move with the kick and snare drums.
- Choose authenticity over showmanship: a simple move performed with intention is better than an empty trick.
- Style families such as breaking, locking and popping expand your range over time.
- Listen for the breaks and let the music guide your body.
| Element | Role | Practical cue |
|---|---|---|
| Block parties | Community origins | Listen to the DJ and feel the tempo |
| Bounce | Rhythmic foundation | Bounce your knees and hips over eight counts |
| Styles | Range of expression | Explore breaking, popping and locking |
To learn more, consult a guide to learning the basics of dance and training your ear to hear the beat.
Warm up and prepare your body to dance safely
Before linking steps, take time to activate your joints and your breathing. A good warm-up reduces injury risk and improves the quality of your movement.
Mobility and activation
Ankles, hips, shoulders: make slow circles, then gradually increase your range of motion. Breathe calmly and avoid jerky movements.
Tip: two minutes for each area is enough to mobilize your joints and prepare your body for faster moves.
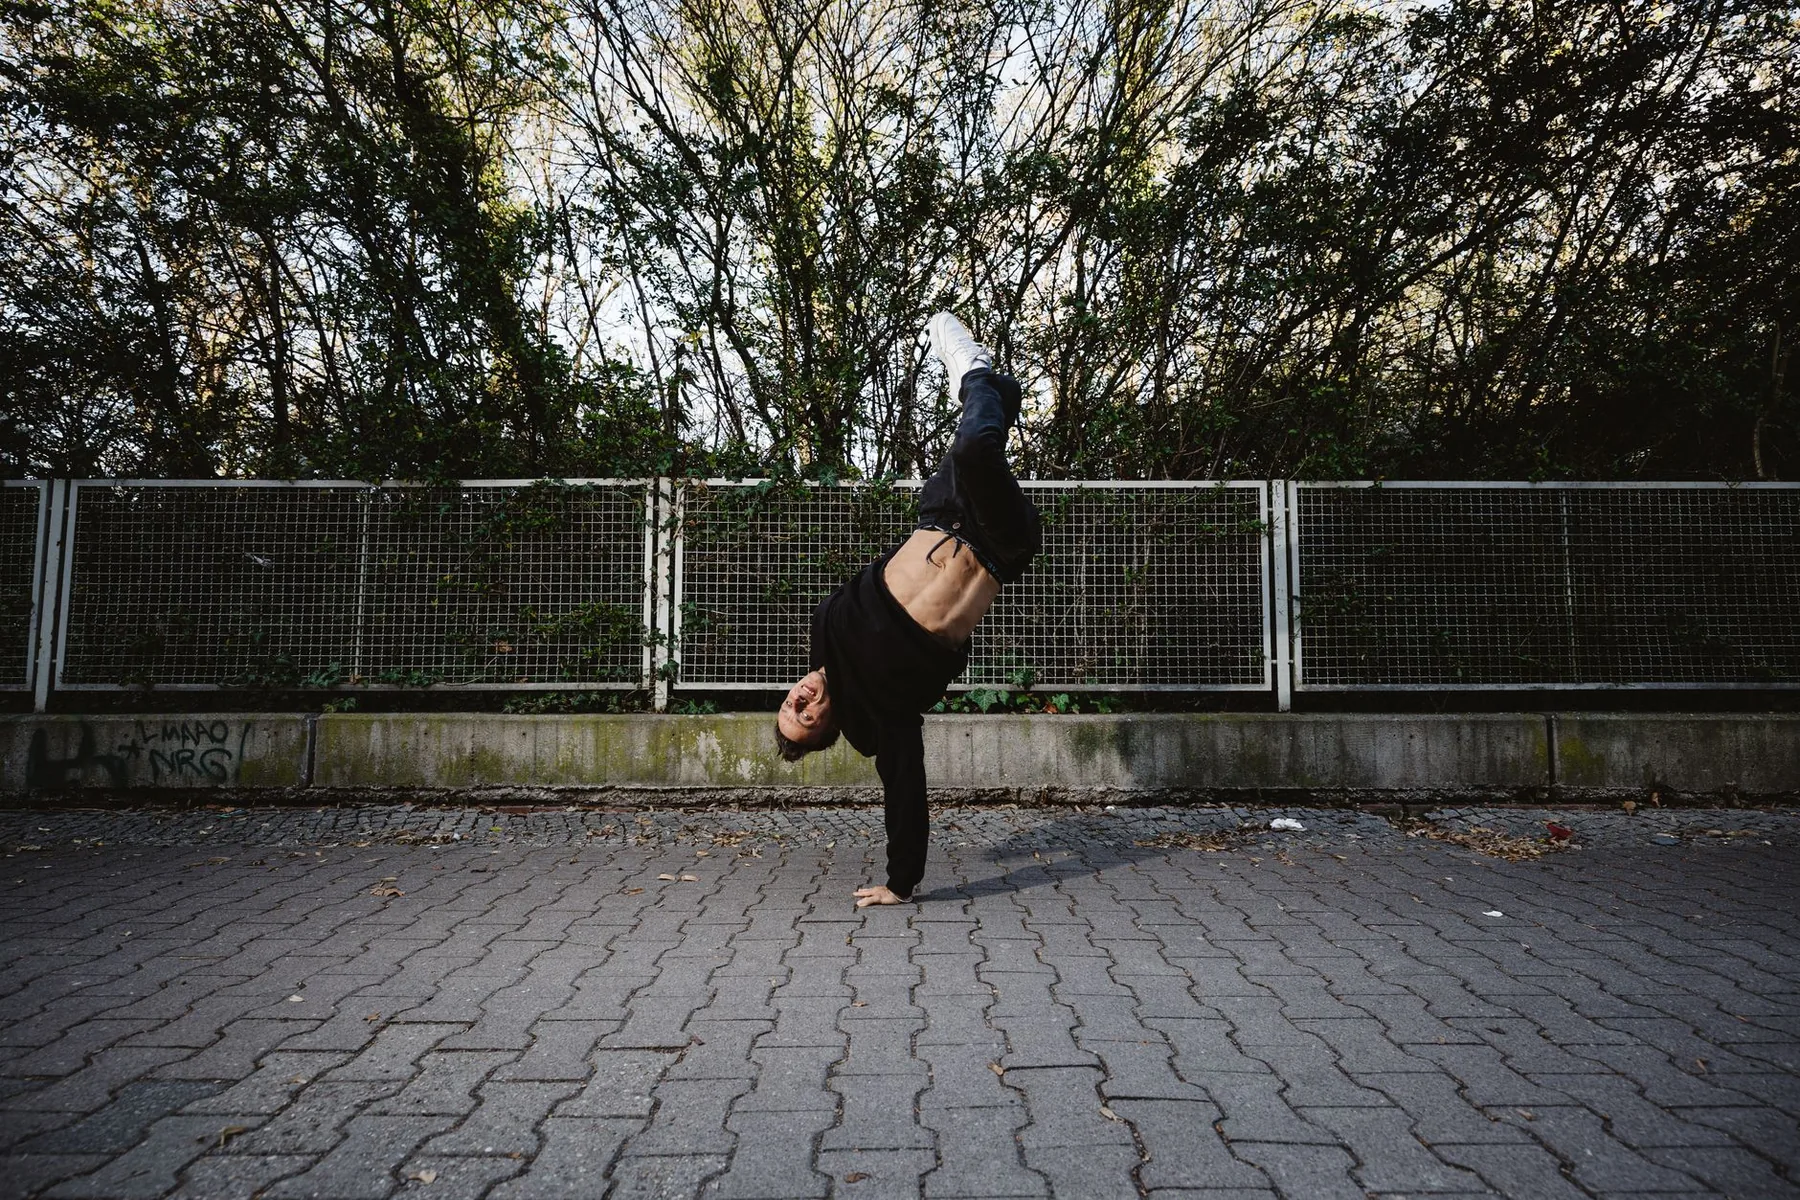
Strength and endurance
Add a short block: two to three sets of controlled squats, 30-second planks and push-ups adapted to your ability. This work strengthens your core and legs.
Follow with 2 × 45 seconds of jump rope or energetic side steps to get your heart used to exertion.
Injury prevention
Watch your footing: distribute your weight, keep your knees soft, and align your pelvis and spine. Pay attention to any sharp pain and take breaks when needed.
Finish with a cool-down: deep breathing and gentle stretches. Warming up and recovering are essential to making progress in dance.
| Goal | Duration | Example |
|---|---|---|
| Mobility | 4 to 6 min | Ankle circles and hip and shoulder rotations |
| Strength | 6 to 8 min | Two to three sets of squats, planks and adapted push-ups |
| Cardio | 2 to 3 min | Jump rope, 2 × 45 sec, or side steps |
For a guided session, try this dance warm-up routine of 8 to 10 minutes.
Essential basic moves for starting hip-hop dance
These fundamentals give your body the cues it needs to follow the music and move more fluidly.
The Bounce
How it works: bend your knees slightly with your feet shoulder-width apart. Your hips cushion the bounce and act as an internal metronome.
Keep your head steady and feel the beat. This simple bounce forms a foundation for the style and frees you to express yourself.
The Two-Step
Step by step: move your right foot to the side, bring your left foot toward it, then reverse the movement. Add a gentle sway through your upper body.
Learning time: 30 to 60 minutes with short tutorials on Instagram, TikTok or YouTube. Practice in a studio or at home.
The Crossover
Cross one foot in front of the other while shifting your weight sideways. Push off the floor with your back leg and keep your torso upright.
Keep your shoulders relaxed: this improves fluidity and helps you maintain balance.
The Spin
Position: plant one foot, then pivot on the ball of that foot while engaging your core. Push with the other leg and use your arms to control momentum.
Focus your eyes on one point, start slowly, then increase your speed once your balance is steady.
The Body Roll
Start the movement at your pelvis, then carry it through your torso and shoulders to create a wave that travels down or up your body.
Coordinate your breathing with small weight shifts: the goal is fluid expression, not forced contraction.
- Technique cues: aligned posture, lowered shoulders and eyes looking ahead.
- Variations: add simple arm movements such as punches and open-and-close motions, and vary your range of motion and levels.
To deepen your learning and structure your practice, follow an online guide such as these five steps, or explore the relationship between dance and music.
Easy hip-hop choreography for beginners: build your routine step by step
Build a short routine that is easy to remember and improves precision while leaving room for freestyle. An A-B-A structure over eight counts is ideal for working on rhythm and fluidity.
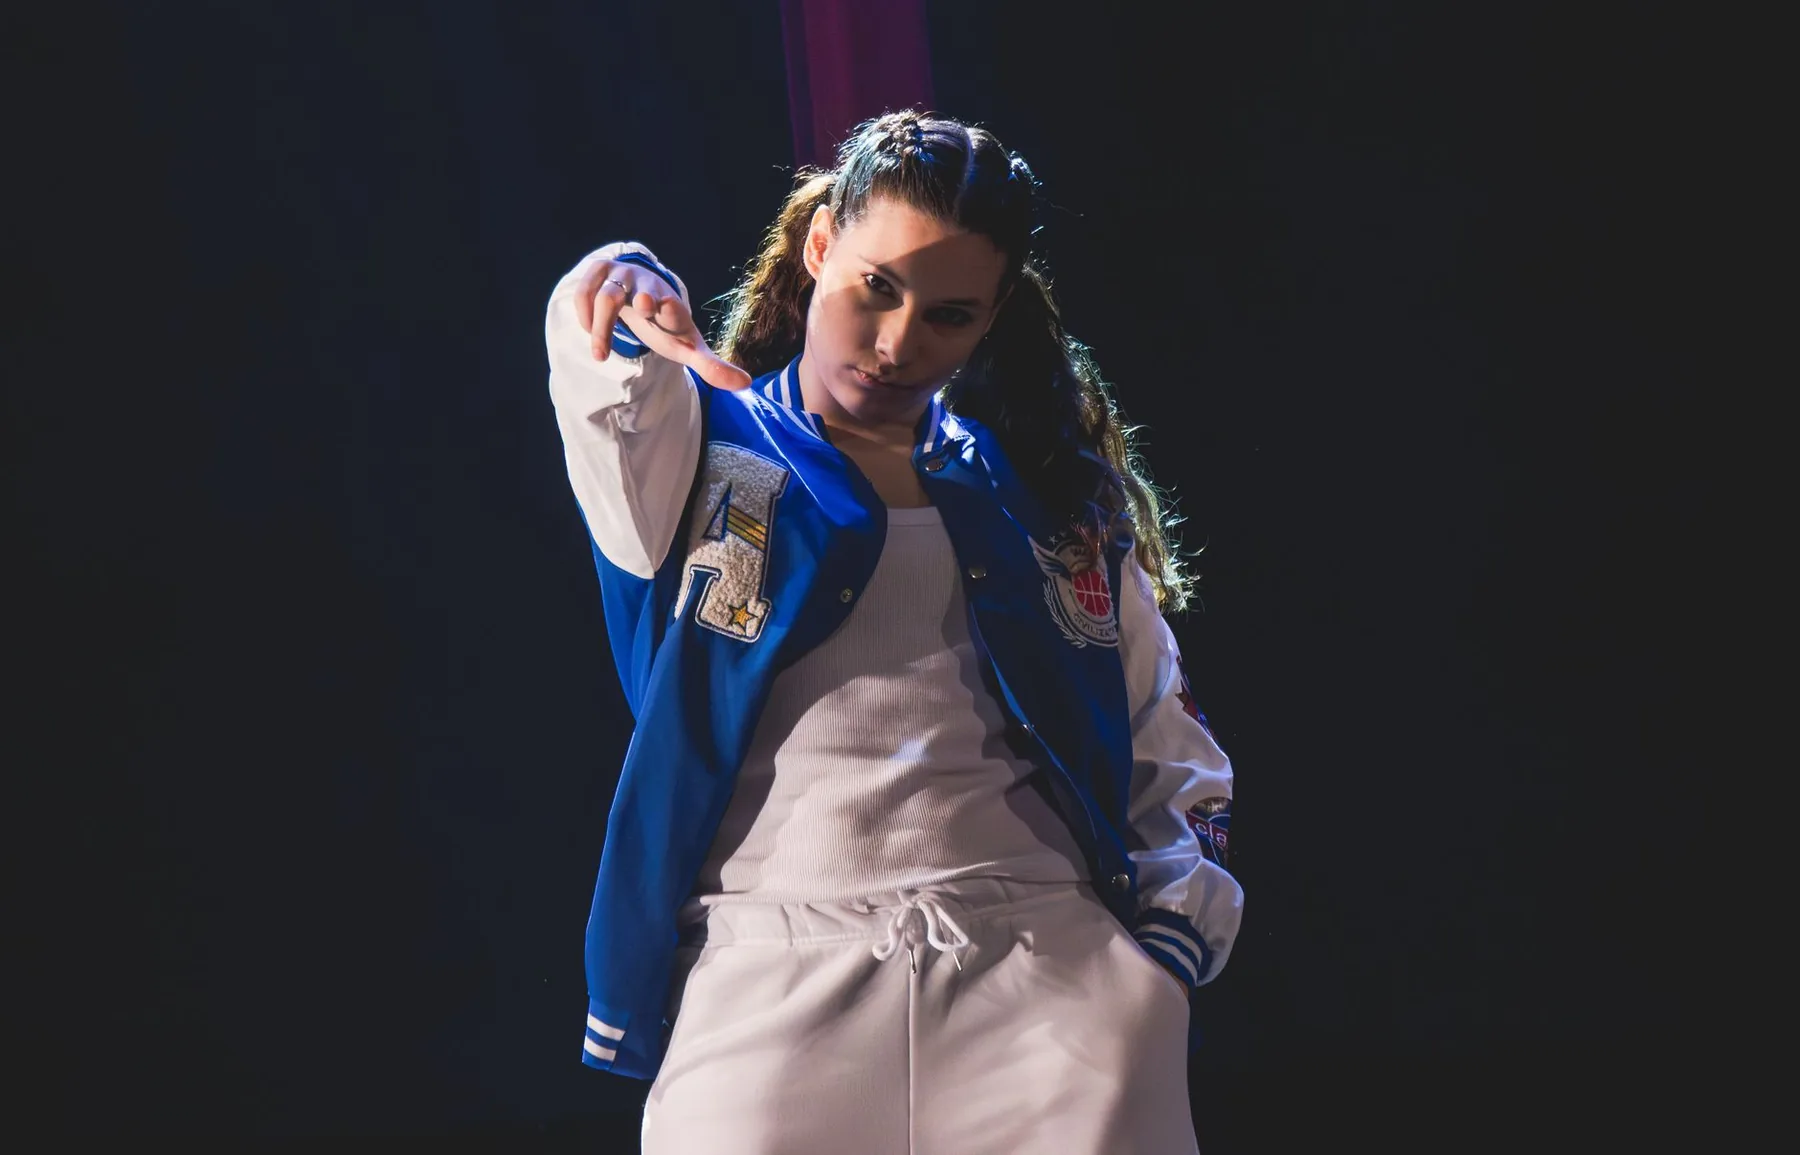
A simple A-B-A structure over eight counts
Plan: A = Two-Step + Bounce (four counts), B = Crossover + Body Roll (four counts), then return to A.
Count clearly: 1–2, two-step to the right; 3–4, two-step to the left with a bounce; 5, crossover to the right; 6, crossover to the left; 7–8, body roll. Repeat twice to establish the rhythm.
Arms and style: bring in your upper body
During the Two-Step, swing the opposite arm to accompany each foot. During the Crossover, keep your hands near your torso for balance.
The body roll calls for mobile shoulders: let your upper body express your intention. Your attitude—confident gaze and steady footing—makes a real difference.
Transitions, directions and variations
Work on lines and levels: face forward, turn diagonally, bend low or rise up. Make a quarter turn after B, or finish the eighth count with a small, controlled spin.
After two A-B-A cycles, set aside eight counts for freestyle: choreography and freestyle complement each other and help develop your style.
Suitable music
Choose a moderate tempo of 85 to 100 BPM. This pace lets you match your breathing, feel the groove and refine your movements without rushing.
Practice at home and in the studio: classes, methods and progress
Thoughtful practice combines short repetitions, video review and focused feedback. Alternate short sessions with progress reviews so you improve without exhausting yourself.
Consistency and self-assessment: 10 to 15 minutes a day is enough to establish the steps and make your movements steadier. Film yourself from the front and the side to check your alignment, musicality and choreographic precision.
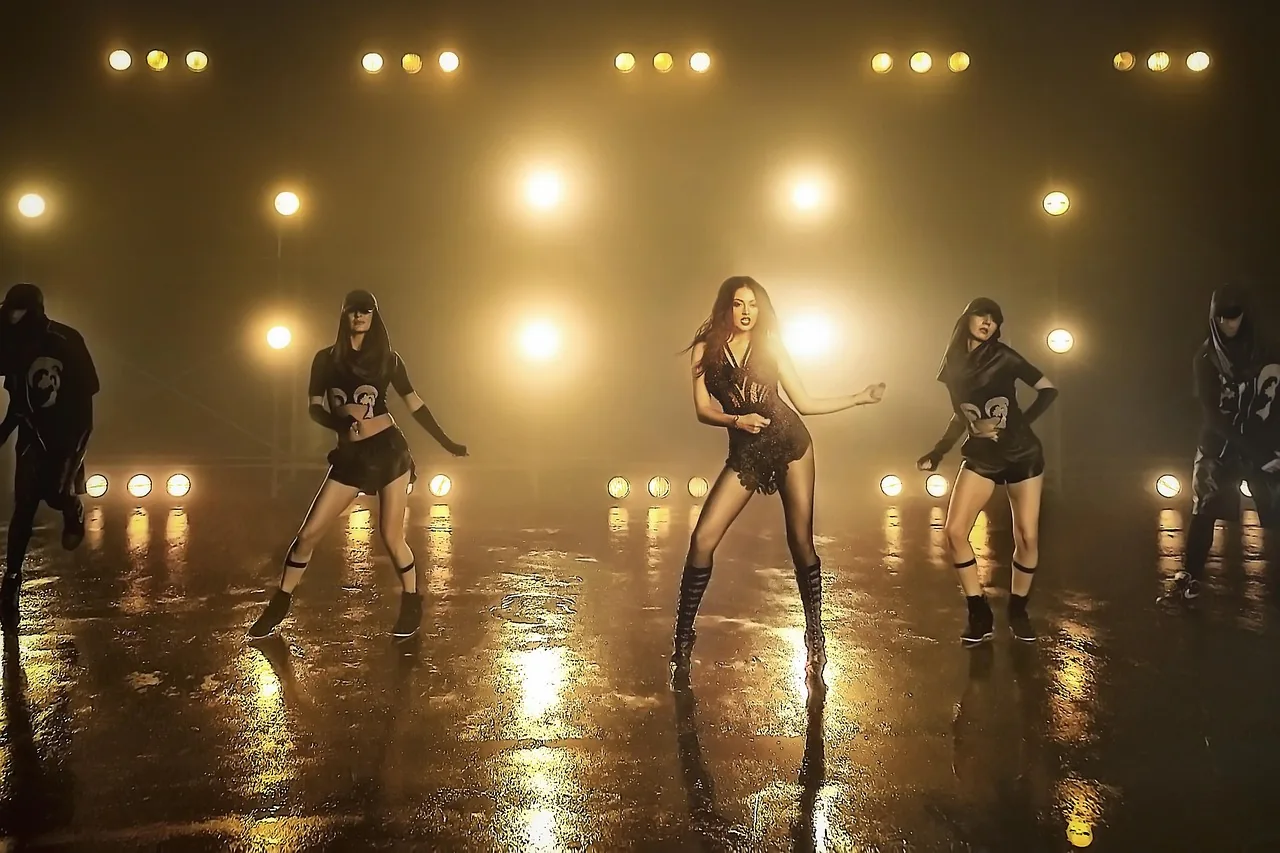
In a studio or online
In a studio, a teacher can correct mistakes as they happen and the space is suited to dancing. Online, you gain flexibility and access to a library of classes.
| Benefit | Studio | Online |
|---|---|---|
| Feedback | Immediate and personal | Delayed, often through comments |
| Space | Suitable floor, spacious room | Space arranged at home |
| Schedule | Fixed times | Flexible |
Train alone or in a group
Group practice develops coordination, synchronization and confidence on stage. Alternate it with solo sessions to refine the details.
- Clear a safe space at home, with floor markers, a smartphone and a mirror.
- Stay consistent: a few minutes of practice each day is better than cramming everything into the weekend.
- Combine in-person and online dance classes to suit your schedule.
Tip: record your progress each week and adjust your learning plan based on what you see in your videos.
Go further: from freestyle to the basics of breaking, locking and popping
Build on your skills with standing techniques that enrich your expression and sense of timing.
Toprock often serves as a standing introduction. It warms the body, establishes the rhythm and strengthens your stage presence. Favor open steps, grounded weight shifts and mobile shoulders to give the movement character before continuing.
Standing breaking gives you room to experiment. Work on your footing, vary your angles and add small breaks in the flow. These choices enrich your routine and prepare you to move safely toward floorwork.
Toprock and standing breaking: rhythmic warm-up and stage presence
Start slowly, then increase your range of motion. Keep your breathing controlled to maintain grace and balance.
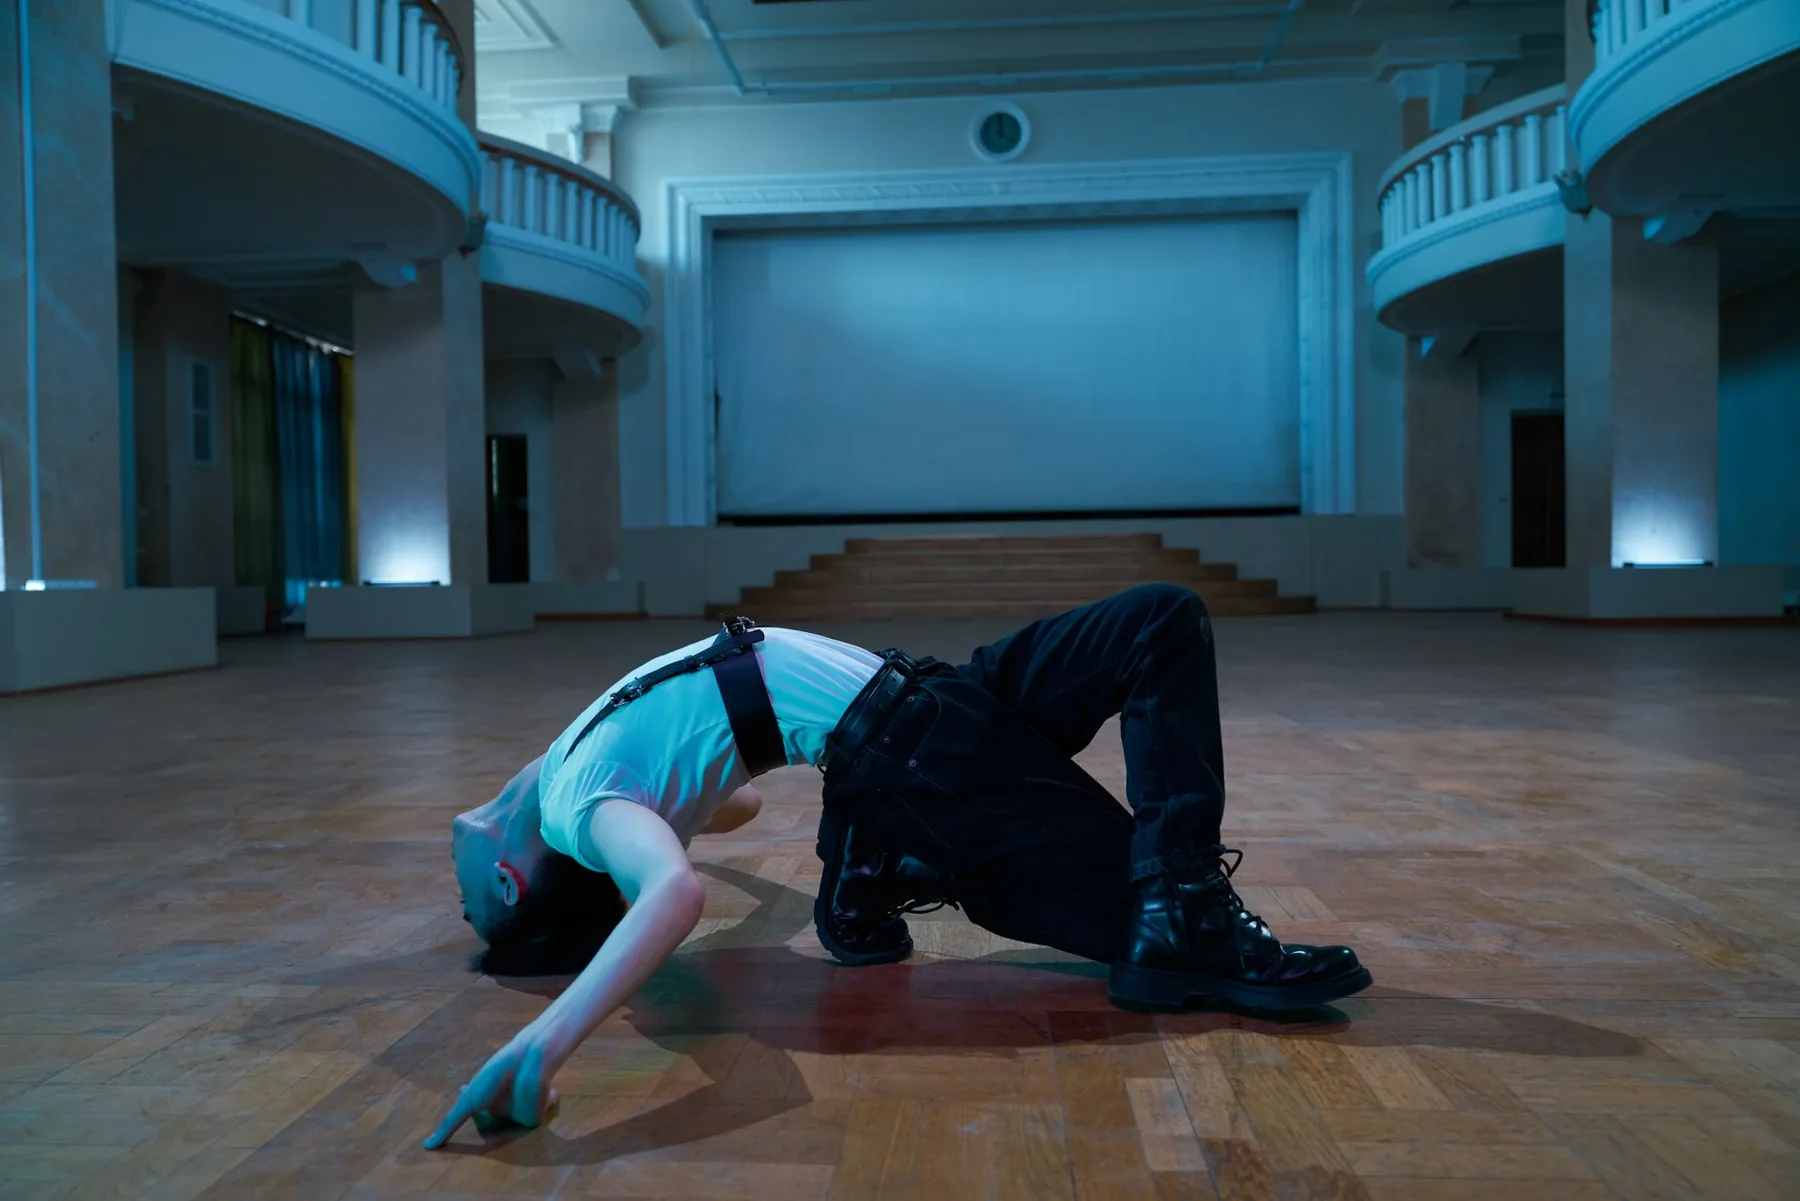
Popping and locking: muscle contractions, poses and musicality
Popping relies on quick contractions, or pops, in the torso and arms. Keep the intensity low at first to avoid stiffness.
Locking emphasizes clear poses and distinct stops. Play with your wrists and hands, and add a broad smile to enliven the performance.
“Movement begins with intention; technique makes it visible.”
- Add toprock as an introduction: open steps, grounded footing and mobile shoulders.
- Explore standing breaking: vary your footing and add small breaks in the flow.
- Practice popping slowly, then increase the pace on the accents.
- Work on locking with clear poses and a performance attitude.
Guided exercise: eight counts of toprock, eight counts of gentle popping, eight counts of locking, then return to the routine. Explore transitions to the floor only once your standing basics are secure.
| Element | Goal | Practical cue |
|---|---|---|
| Toprock | Warm-up and presence | Open steps and grounded weight shifts |
| Popping | Muscle control | Quick contractions on musical accents |
| Locking | Poses and performance | Clear stops and expressive hand movements |
| Standing breaking | Experimentation | Play with angles and footing |
Conclusion
Mastering a few key moves is enough to begin. With a simple structure and a suitable tempo, you have the technical foundations and rhythmic cues you need.
Hip-hop culture has traveled around the world, connecting communities through music and movement. Understanding this context gives your expression meaning beyond technique.
A few minutes of regular practice strengthen your fitness, memory and confidence. Alternate your routine with improvisation to refine your style and ease on stage.
To explore the culture further and find learning resources, consult this hip-hop dance guide. Put on a beat, start the music and let your body tell your story.